


Why Laser Engraving Wood Requires the Right Material
Laser engraving wood is a simple way to create signs, gifts, ornaments, plaques, boxes, and custom products, but the final quality depends heavily on the material. Laser engraving wood can produce dark, detailed marks when the wood has a smooth and even surface. However, laser engraving wood behaves differently depending on its density, grain, moisture, and finish. For consistent results, choosing the best wood for laser engraving is just as important as choosing the correct speed and power. With the right approach, laser engraving wood can become a practical process for both hobby projects and small-business production. The key is to test the material before starting the final piece, especially when laser engraving wood for customer orders.

Monport Reno45 Pro 45W Desktop CO2 Laser Engraver and Cutter (16" x 12") with Brand New Assisted Autofocus

Best Wood for Laser Engraving
Different woods produce different levels of contrast and detail. Soft, light-colored woods are often easier for beginners because the engraved areas stand out clearly.
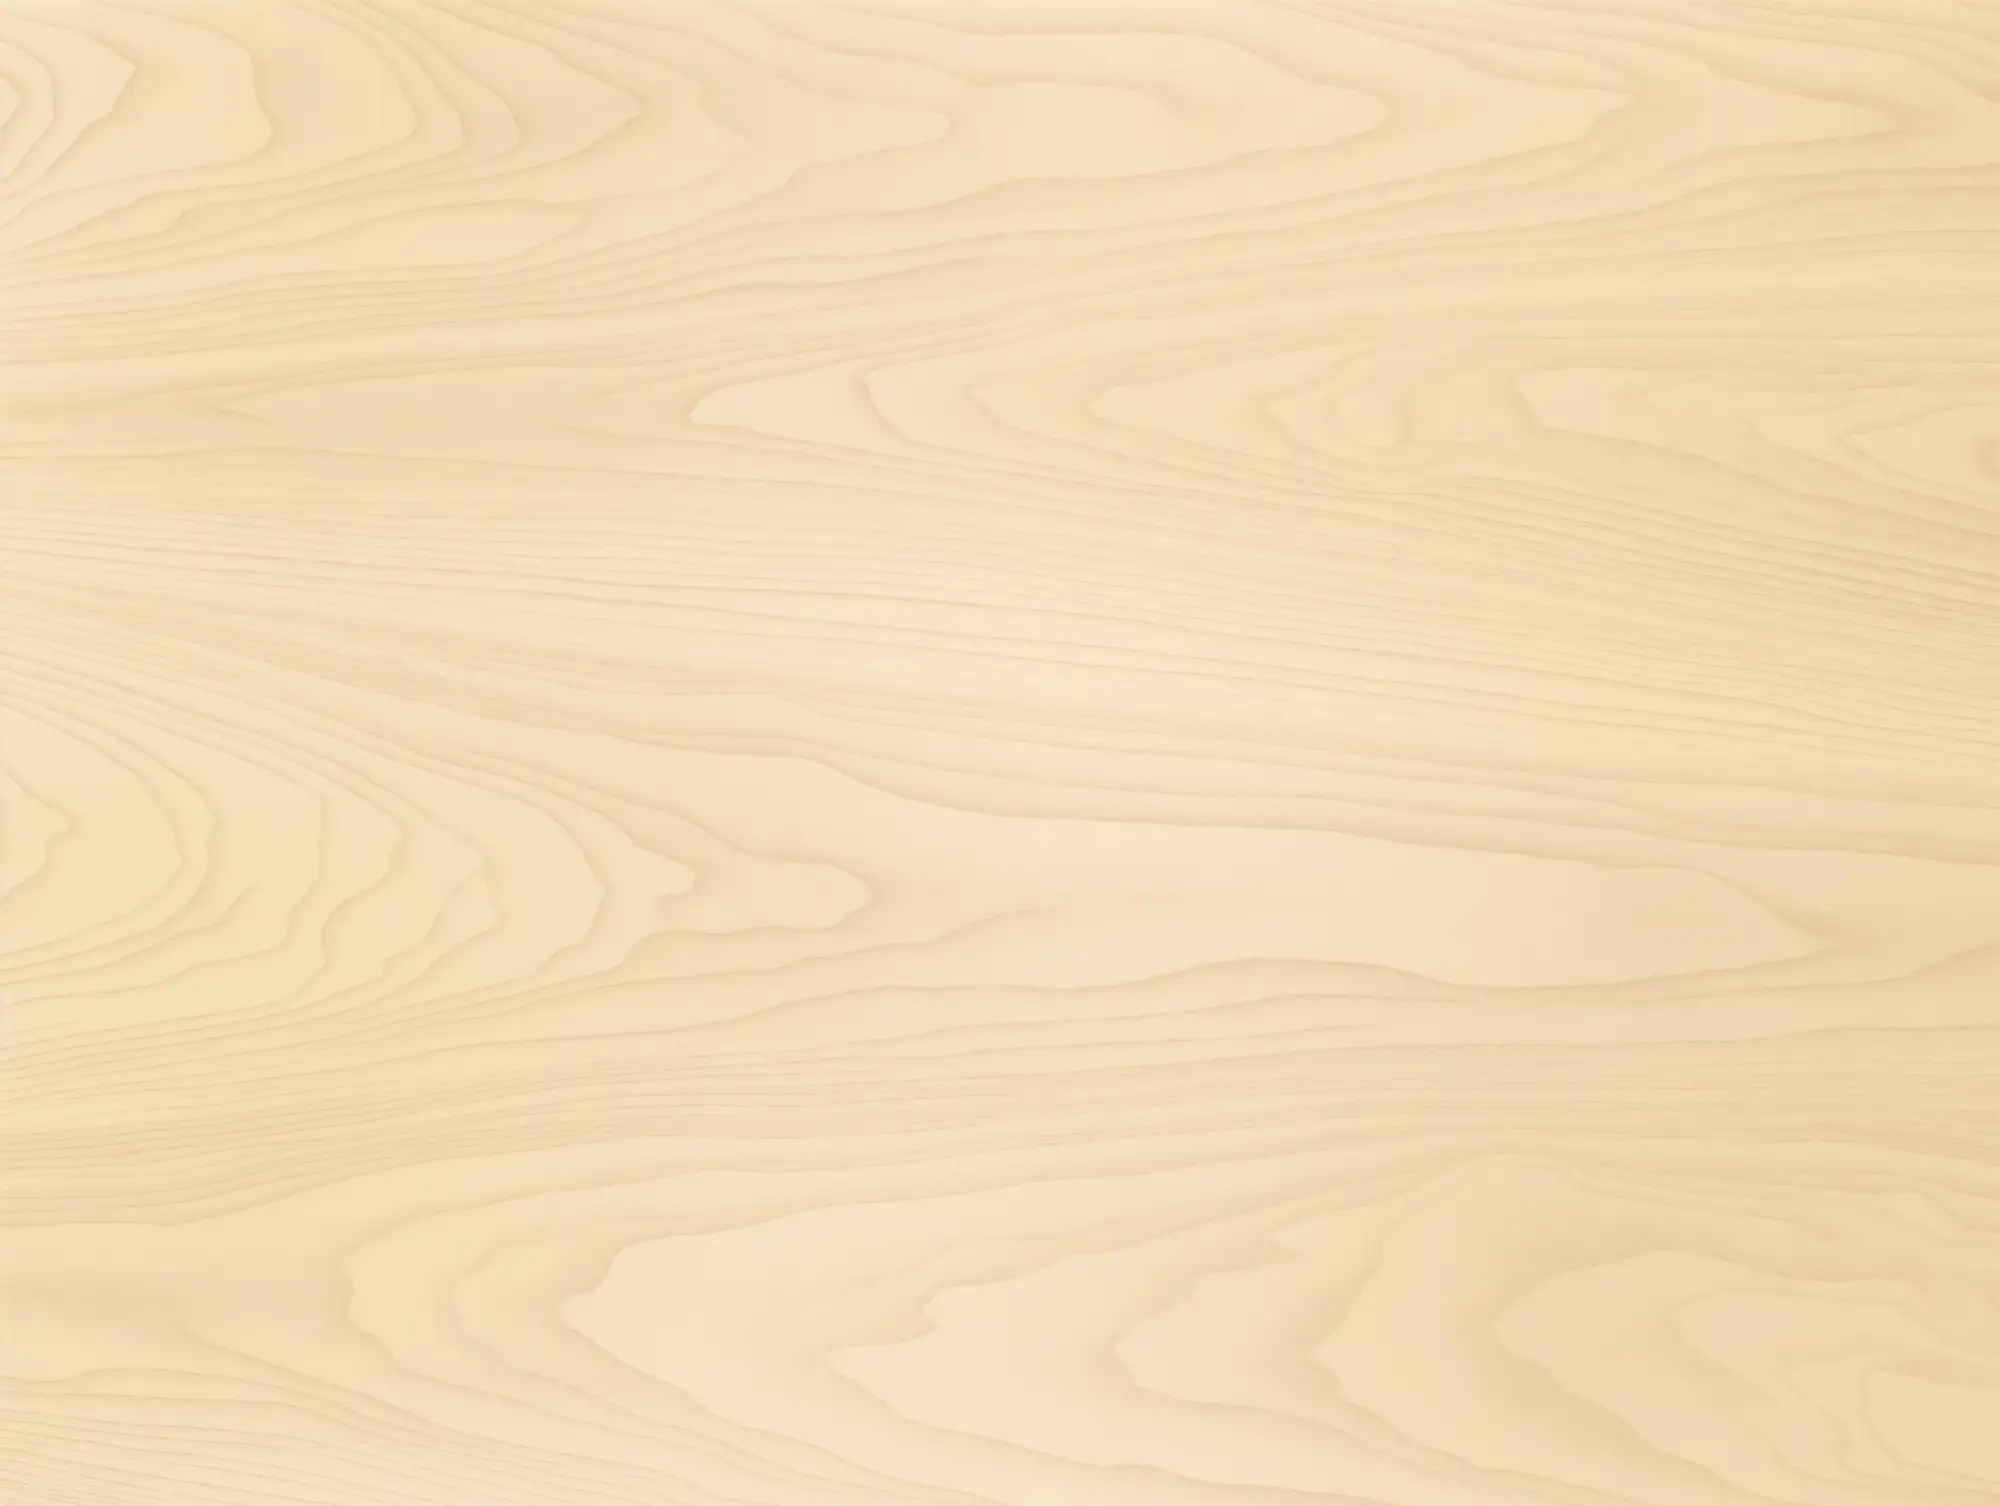
| Wood Type | Engraving Result | Cutting | Best Uses | |
|---|---|---|---|---|
|
Birch plywood | Light, even, good contrast | Excellent | Signs, ornaments, crafts |

|
Maple | Smooth and clean | Good | Gifts, logos, detailed designs |

|
Cherry | Warm, darker finish | Good | Premium signs and décor |
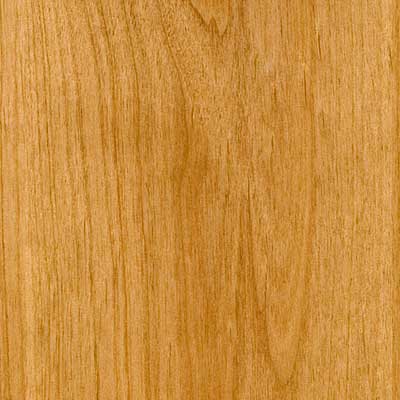 |
Alder | Light and consistent | Good | Plaques and personalized items |
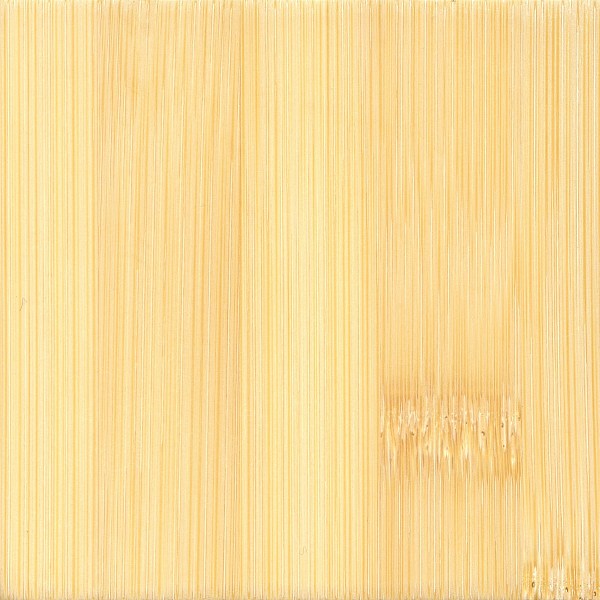 |
Bamboo | Strong contrast but variable grain | Good | Kitchen items and gifts |
 |
MDF | Very consistent | Excellent | Prototypes and painted projects |
 |
Walnut | Dark natural color | Moderate | Premium decorative products |
For many beginners, birch plywood is one of the best wood for laser engraving because it has a relatively smooth surface and predictable results. Before buying large quantities, test several sheets from the same supplier because wood can vary from batch to batch.
Laser Engraving Wood Settings: Where to Start
There is no single setting that works for every species. Laser power, speed, image density, lens condition, air assist, and wood thickness can all affect the result.
A useful starting approach is to create a small test grid.
| Project | Starting Approach |
| Light engraving | Higher speed + lower power |
| Dark engraving | Lower speed + higher power |
| Fine details | Moderate power + higher speed |
| Cutting thin wood | Lower speed + sufficient power |
| Cutting thicker wood | Multiple passes may be required |
Always follow the recommended settings for your specific laser and material. When engraving, change one setting at a time so you can understand how it affects the result.

How to Improve Engraving Contrast
Surface preparation can make a major difference. Clean the wood before processing and remove dust or loose particles. For designs that require strong contrast, masking tape or paper transfer tape can help reduce surface smoke marks around the artwork.
For laser engraving wood, consider these practical steps:
- Sand the surface evenly before engraving.
- Remove dust after sanding.
- Use a consistent focus height.
- Run a small test before the final piece.
- Keep the wood flat on the working bed.
- Use air assist when appropriate.
- Clean smoke residue after engraving.
- Keep the exhaust system operating during processing.
For detailed graphics, a clean surface and accurate focus are often more important than simply increasing laser power.

Cutting Wood With a 45W CO₂ Laser
A 45W desktop CO₂ laser can be useful for makers who need both engraving and cutting in a compact workspace. The Monport Reno45 Pro has a 400 × 300 mm working area, a maximum engraving speed of 600 mm/s, a 100 mm Z-axis range, and both honeycomb and blade working tables.
Its magnetic assisted focus is designed to make focusing faster, while USB and Wi-Fi connectivity provide flexible ways to send projects. It also works with LightBurn and other supported software.
For shop owners, this combination is useful when one machine needs to handle personalized signs, ornaments, boxes, plaques, and other small products without taking up the space of a larger industrial machine.
Sealing and Finishing Laser-Engraved Wood
After engraving, finishing can protect the product and improve its appearance. First, remove loose dust and residue. Light sanding may help clean the surface, but avoid sanding directly over very fine engraved details.
Depending on the project, you can use:
- Clear wood finish
- Water-based polyurethane
- Wood oil
- Wax
- Stain
- Paint for engraved details
Always test the finish on scrap material first. Some finishes can darken the wood or change the contrast of the engraving.

Can the Reno45 Pro Handle Other Materials?
The Reno45 Pro is not limited to wood. It can also engrave glass tumblers when paired with a compatible rotary attachment. It can engrave empty eggshells as well.
For foam, the 45W CO₂ laser is suitable for ordinary foam materials around 20–30 mm thick, depending on the material and cutting conditions. Dense industrial foams such as PU or PE may require a 100W CO₂ laser or higher. PVC and flame-retardant foams can produce hazardous fumes when processed, so material compatibility and proper fume extraction are essential.
Important Safety Details
Never assume a material is safe simply because it looks similar to another material. Avoid processing materials that may release dangerous gases, and always check the manufacturer's material information.
Use proper ventilation or fume extraction, keep the laser supervised during operation, and follow the machine's safety instructions. Wood can ignite if incorrect settings, poor airflow, or excessive heat are used.
FAQs About Laser Engraving Wood
What is the best wood for laser engraving?
Birch plywood, maple, alder, and cherry are popular choices. Birch plywood is especially useful for beginners because it is relatively light and provides good engraving contrast.
What settings should I use for wood?
Start with a test grid rather than copying one setting for every project. Wood species, thickness, moisture, and machine power can all change the ideal speed and power combination.
Can the Reno45 Pro engrave glass tumblers?
Yes. The Reno45 Pro can engrave glass tumblers when used with a suitable rotary attachment designed for cylindrical objects.
Can it engrave empty eggshells?
Yes. The Reno45 Pro can engrave empty eggshells, although careful focusing and low-power testing are important because eggshells are fragile.
How long does delivery take in the UK?
According to the supplied product information, the Reno45 Pro is currently in stock, with an estimated shipping time of 5–7 days.
Key Takeaways
- Choose light, consistent wood for easier engraving.
- Birch plywood is a strong starting material.
- Always test speed and power before production.
- Focus carefully for sharper details.
- Clean and finish engraved pieces carefully.
- Use proper ventilation and material safety checks.
- A 45W CO₂ machine can support both engraving and cutting projects.
Start Creating Better Wood Products
If you want one desktop machine for personalized wood products, cutting projects, and engraving applications, the Monport Reno45 Pro offers a practical 16 × 12-inch workspace, assisted focusing, 600 mm/s maximum engraving speed, and compatibility with LightBurn.

For hobbyists and small shops, the right combination of wood selection, tested settings, finishing, and a capable CO₂ laser can make the difference between a basic engraving and a product customers are happy to buy. Explore the Reno45 Pro and choose a setup that fits your workspace and production needs.
