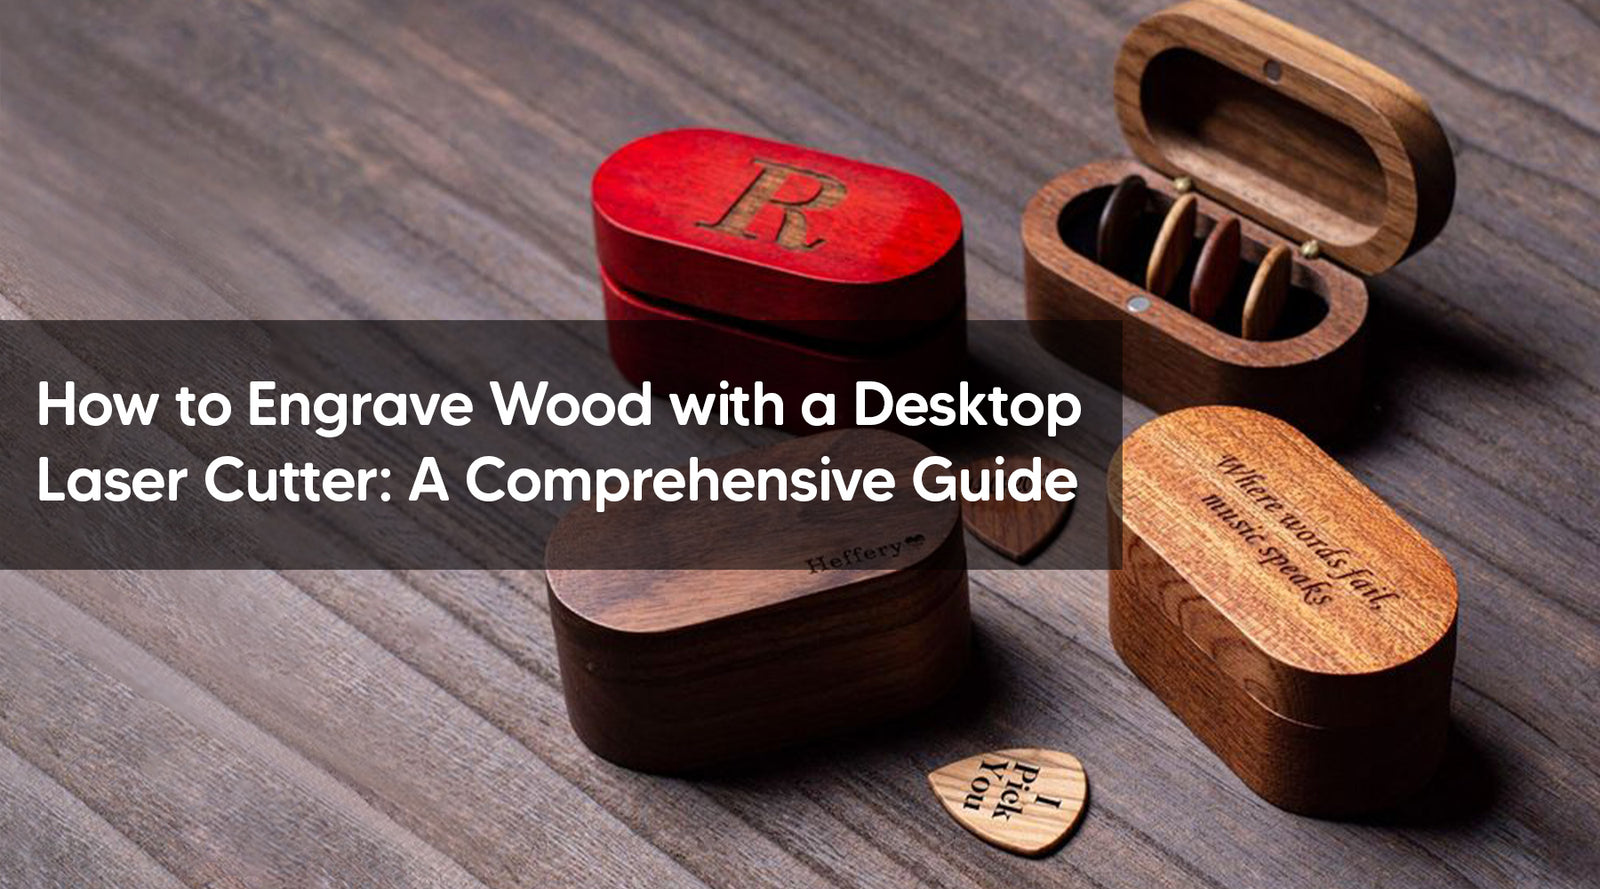
Engraving wood has become increasingly popular among hobbyists and professionals alike. With the advancement in technology, using a desktop laser cutter such as the monport onyx 55w makes the process simpler and more precise. This comprehensive guide will walk you through the steps on how to engrave wood effectively, ensuring you achieve professional-quality results every time.
Introduction to Desktop Laser Cutters
A desktop laser cutter is a versatile tool that uses laser technology to cut, engrave, and etch a variety of materials, including wood, acrylic, and metal. The MONPORT ONYX 55W Desktop CO2 Laser Engraver with Autofocus is an excellent choice for both beginners and seasoned users due to its ease of use and advanced features.
Getting Started with Wood Engraving
To begin engraving wood, you will need:
- Desktop laser cutter (e.g., MONPORT ONYX 55W)
- Computer with design software (e.g., Adobe Illustrator, CorelDRAW)
- Wood material (e.g., plywood, hardwood, softwood)
- Safety gear (e.g., goggles, gloves)
Preparing Your Design
The first step in how to engrave wood is creating your design. Here are some key points to consider:
- Choose Your Design Software: Popular options include Adobe Illustrator, CorelDRAW, and Inkscape.
- Create or Import Your Design: You can either design from scratch or import an existing design.
- Adjust the Size and Position: Ensure your design fits within the parameters of your wood piece and the laser cutter’s working area.
Setting Up the Laser Cutter
- Turn On the Machine: Power up your MONPORT ONYX 55W and connect it to your computer.
- Focus the Laser: Utilize the autofocus feature to ensure the laser is correctly focused on the wood surface.
- Load Your Material: Secure the wood piece onto the laser cutter bed.
- Adjust Settings: Set the appropriate laser power and speed settings for wood. This varies depending on the wood type and thickness.
Engraving Process
With your design ready and machine set up, it’s time to start engraving.
Step-by-Step Process
- Upload Your Design: Send your design file to the laser cutter software.
- Preview the Design: Use the software to preview and ensure everything is aligned properly.
- Start Engraving: Begin the engraving process by hitting the start button on your software or machine.
- Monitor the Process: Keep an eye on the engraving process to ensure there are no issues.
- Post-Engraving Clean-Up: Once finished, carefully remove the wood piece and clean any residue.
Tips for High-Quality Wood Engraving
- Use High-Resolution Images: Higher resolution images result in finer details.
- Test on Scrap Wood: Always test your settings on a scrap piece of wood first.
- Maintain Your Laser Cutter: Regularly clean and maintain your laser cutter to ensure optimal performance.
Common Issues and Solutions
- Burn Marks: Reduce laser power or increase speed to avoid burn marks.
- Incomplete Engraving: Ensure the wood is flat and properly focused.
- Distorted Designs: Check the design file for errors and ensure the wood piece is secure.

FAQ
Q1: What types of wood are best for engraving?
A: Softwoods like pine and cedar are easier to engrave, while hardwoods like oak and maple require more power but offer more detail.
Q2: Can I engrave painted or treated wood?
A: It’s best to engrave untreated wood. Painted or treated wood can release harmful fumes when engraved.
Q3: How do I clean my laser cutter?
A: Use a soft cloth to clean the lens and remove any debris from the machine bed regularly.
Important Details
- Power Settings: Different woods require different power settings. Always refer to the user manual for guidelines.
- Ventilation: Ensure proper ventilation when engraving to avoid inhaling fumes.
- Software Compatibility: Ensure your design software is compatible with the laser cutter’s software.

Takeaways
- A desktop laser cutter like the MONPORT ONYX 55W is ideal for precise wood engraving.
- Proper preparation and setup are crucial for successful engraving.
- Regular maintenance of your laser cutter ensures longevity and consistent performance.
Conclusion
Engraving wood with a desktop laser cutter is a rewarding process that combines creativity with technology. By following the steps outlined above and using a reliable machine like the Monport Onyx 55w you can create stunning, professional-quality engravings. Whether for personal projects or commercial endeavors, mastering how to engrave wood will open up a world of possibilities in your craft.


