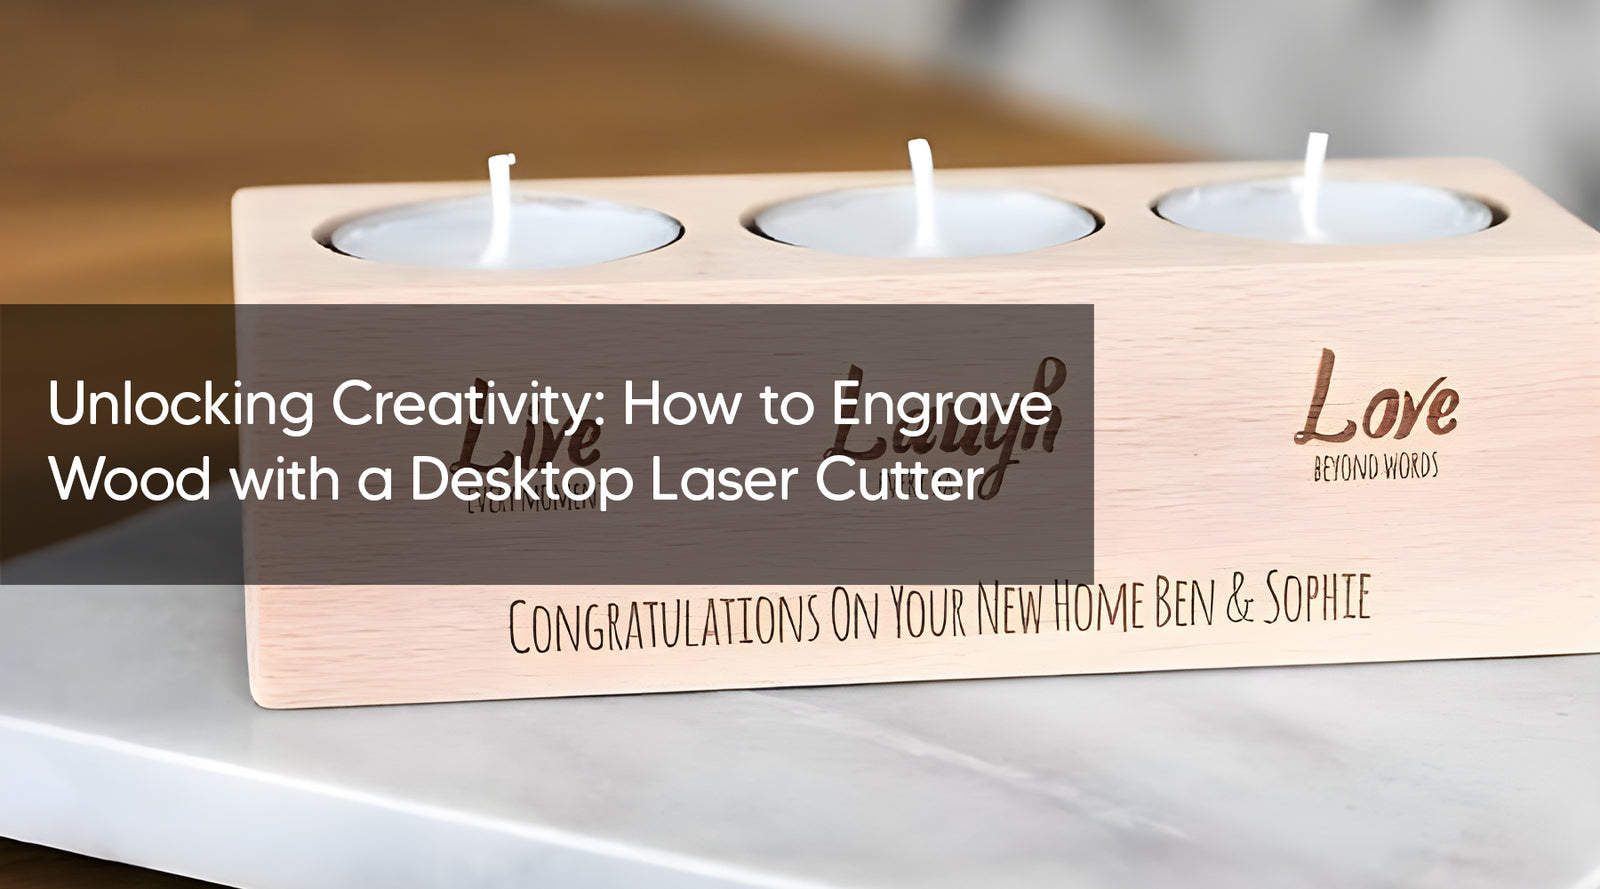
Are you a DIY enthusiast, artist, or small business owner looking to add a touch of personalization to your projects? Look no further than a desktop laser cutter. These versatile tools offer precision and flexibility, allowing you to engrave intricate designs onto a variety of materials, including wood. In this guide, we'll walk you through the process of how to engrave wood using a desktop laser cutter, with a focus on the MONPORT ONYX 55W Desktop CO2 Laser Engraver with Autofocus.
Understanding the Basics of Laser Engraving on Wood
Before diving into the specifics of how to use a desktop laser cutter to engrave wood, it's essential to understand the fundamentals of the process. Laser engraving works by using a concentrated beam of light to vaporize the surface of the material, creating a permanent mark. Wood is an excellent medium for laser engraving due to its versatility and natural aesthetic.

Getting Started with the MONPORT ONYX 55W Desktop CO2 Laser Engraver
The MONPORT ONYX 55W Desktop CO2 Laser Engraver is a powerful yet user-friendly tool for engraving wood and other materials.
Step-by-Step Guide to Engraving Wood with a Desktop Laser Cutter
-
Prepare Your Design: Begin by creating or selecting the design you want to engrave onto the wood. Ensure that the design is compatible with your laser cutter's software.
-
Secure the Wood: Place the wood securely onto the laser cutter's bed, ensuring that it is flat and level. You may need to use clamps or other securing methods to prevent movement during the engraving process.
-
Calibrate the Laser: Use the autofocus feature of the MONPORT ONYX 55W Desktop CO2 Laser Engraver to ensure the correct focal distance for optimal engraving results.
-
Set the Parameters: Adjust the laser power, speed, and other settings based on the type of wood and the desired engraving depth. It's essential to perform test runs on scrap wood to fine-tune these parameters before engraving your final piece.
-
Execute the Engraving: Once you're satisfied with the settings, start the engraving process. The laser cutter will follow the design, burning away the surface of the wood to create the desired pattern or text.
-
Post-Processing: After the engraving is complete, remove the wood from the laser cutter and inspect the results. Depending on your preference, you can leave the engraving as is or apply finishes such as varnish or paint to enhance its appearance.

FAQs About Engraving Wood with a Desktop Laser Cutter
Q: Can I engrave any type of wood with a desktop laser cutter?
A: While most types of wood can be engraved using a laser cutter, some may yield better results than others. Hardwoods such as maple, cherry, and walnut tend to produce crisp, clean engravings, while softer woods like pine may result in more charred edges.
Q: Is it possible to engrave intricate designs with a desktop laser cutter?
A: Yes, desktop laser cutters offer precise control, allowing you to engrave even the most intricate designs with ease. However, it's essential to ensure that your design is compatible with the capabilities of your laser cutter and that you adjust the settings accordingly.
Q: Can I engrave wood of varying thicknesses with a desktop laser cutter?
A: Yes, most desktop laser cutters feature adjustable Z-axis height settings, allowing you to accommodate wood of varying thicknesses. However, it's essential to ensure that the surface of the wood is flat and level to achieve consistent results.

Important Details to Consider
- Safety: Always wear appropriate protective gear, such as safety glasses, when operating a laser cutter to prevent eye damage from the intense light.
- Ventilation: Ensure proper ventilation in your workspace to remove smoke and fumes generated during the engraving process.
- Maintenance: Regularly clean and maintain your laser cutter to ensure optimal performance and longevity.
Key Takeaways
- Desktop laser cutters offer a versatile and efficient solution for engraving wood with precision and accuracy.
- Understanding the basics of laser engraving and the capabilities of your specific laser cutter is essential for achieving the best results.
- Experiment with different settings and techniques to achieve the desired engraving effects on various types of wood.

Conclusion
Engraving wood with a desktop laser cutter opens up a world of creative possibilities, whether you're adding custom designs to woodworking projects or creating personalized gifts and keepsakes. By following the steps outlined in this guide and familiarizing yourself with the features of the MONPORT ONYX 55W Desktop CO2 Laser Engraver, you can unleash your creativity and bring your ideas to life with stunning precision and detail.


