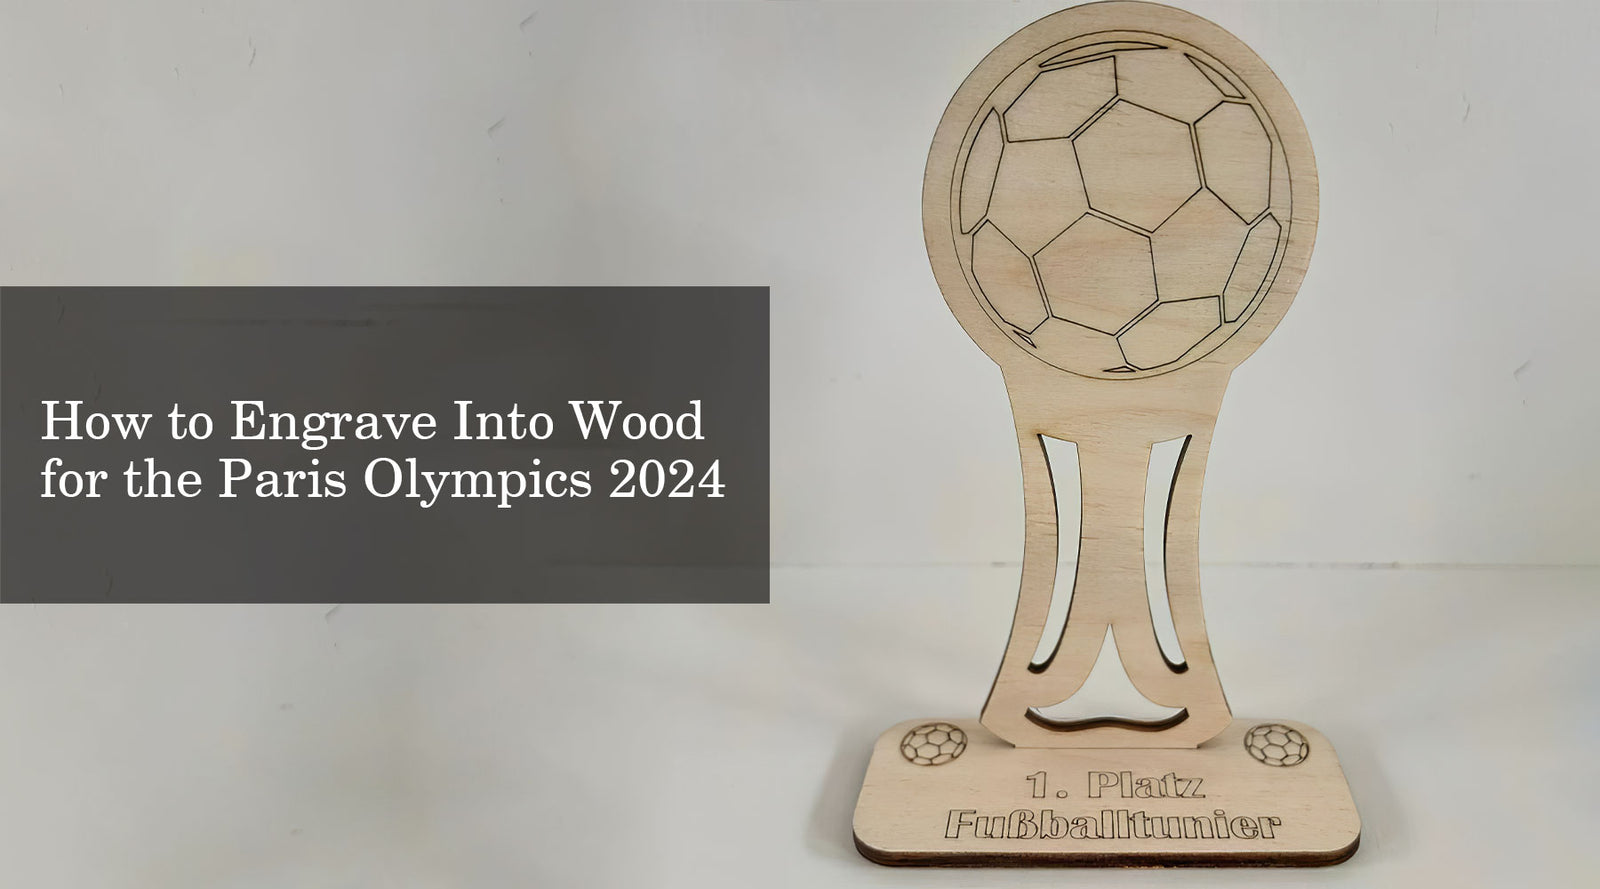
As the Paris Olympics 2024 approaches, there's a growing interest in creating personalized Olympic merchandise 2024. One fantastic way to make unique memorabilia is by learning how to engrave into wood. Whether you're crafting keepsakes, gifts, or decorations, this guide will help you create beautiful wood engravings using the MONPORT ONYX 55W Desktop CO2 Laser Engraver with Autofocus.
What You Need
Before you start engraving, gather the following materials:
- Wood: Choose wood that suits your project (e.g., oak, maple, cherry).
- Design Template: Digital or sketched design of your engraving.
- Laser Engraver: The MONPORT ONYX 55W Desktop CO2 Laser Engraver with Autofocus.
- Safety Gear: Goggles and gloves.
- Computer: For transferring designs to the laser engraver.
Step-by-Step Guide to Wood Engraving
Step 1: Design Preparation
- Choose Your Design: Select a design related to the Paris Olympics 2024. Ideas include the Olympics logo, Paris landmarks, or athletic scenes.
- Create or Download: Use design software to create or download your design.
- Adjust Settings: Ensure the design fits your wood piece's dimensions.
Step 2: Laser Engraver Setup
- Assemble the Engraver: Follow the instructions to set up the MONPORT ONYX 55W Desktop CO2 Laser Engraver.
- Connect to Computer: Link the laser engraver to your computer to transfer the design.
- Calibrate the Engraver: Use the autofocus feature to set the correct height.
Step 3: Wood Preparation
- Clean the Wood: Make sure the wood surface is clean and dust-free.
- Secure the Wood: Place and secure the wood on the engraver bed to prevent movement.
- Test Alignment: Run a test to check the design’s alignment on the wood.
Step 4: Engraving the Wood
- Adjust Laser Settings: Set the laser power and speed according to the wood type and thickness.
- Start Engraving: Begin the engraving process and monitor it.
- Inspect the Engraving: Check for any imperfections once the engraving is done.
Step 5: Finishing Touches
- Sand the Edges: Lightly sand any rough edges.
- Apply Finish: Use a wood finish or sealant to protect and enhance the engraving.
- Clean Up: Remove debris from the engraving area.

FAQ
Q: What types of wood are best for engraving?
A: Hardwoods like oak, maple, and cherry are excellent for clear, detailed engravings.
Q: Is it safe to engrave wood at home?
A: Yes, as long as you follow safety guidelines and wear protective gear.
Q: How long does wood engraving take?
A: It depends on the design’s complexity and the wood size. Simple designs may take minutes, while intricate ones could take longer.

Important Details
- Safety: Always wear protective gear and ensure good ventilation when using a laser engraver.
- Start Simple: Begin with simple designs to build confidence before attempting complex engravings.
- Maintenance: Regularly clean and maintain your laser engraver for optimal performance.

Tips for Engraving Olympic Merchandise
- Personalization: Create custom pieces by adding names, dates, or messages.
- Themes: Incorporate popular themes like the Eiffel Tower, Olympic rings, or athlete silhouettes.
- Gift Ideas: Make items like engraved coasters, plaques, or keychains as gifts for friends and family.
Takeaways
- Engraving wood is a creative way to celebrate the Paris Olympics 2024.
- The MONPORT ONYX 55W Desktop CO2 Laser Engraver with Autofocus is ideal for detailed and precise wood engravings.
- Follow safety guidelines and take your time to ensure quality results.

Conclusion
Engraving wood is a rewarding and enjoyable activity that allows you to create unique Olympic merchandise 2024. By following this guide, you’ll be well-prepared to produce beautiful, personalized items in time for the Paris Olympics 2024. Whether you're a beginner or have some experience, learning how to engrave into wood with the right tools and techniques can make your projects shine. Happy engraving!


