Replacing the laser autofocus sensor on a CO2 laser engraver can be a challenging task for a newbie, especially if you are not familiar with the inner workings of the machine.
When it comes to laser engraver replacement parts, especially if you have no experience, it is always better to get some professional help. But if you follow the instructions carefully and spend some time researching for advice on forums like this one, or in online articles, there are higher chances of success.
What is an autofocus sensor?

A laser autofocus sensor is a component in a CO2 laser engraver that helps to ensure that the laser head is at the correct distance from the material being engraved. The sensor measures the distance between the laser head and the material and provides feedback to the engraving machine, which adjusts the focus of the laser beam accordingly.
In order to improve the efficiency of processing, Monport 60W autofocus laser engraver lasers can automatically focus on the workpiece during processing by adjusting the distance between them and adjusting the focal length of the lens according to changes in distance between them due to changes in working conditions
The autofocus sensor typically uses a small laser beam to measure the distance between the laser head and the material being engraved. The sensor is mounted near the laser head and is designed to move up and down along with the laser head as it engraves the material. It works with the z-axis motor to sense the workpiece and lower the workbench, the perfect focal distance without a working autofocus sensor you will have to focus the laser manually which adds extra time to each project today.
The laser autofocus sensor is a critical component in ensuring that the laser beam is focused properly on the material, which is necessary for achieving accurate and consistent engraving results. Over time, the laser autofocus sensor may become damaged or worn out due to normal wear and tear or exposure to dust, debris, or other contaminants, which may require replacement.
Why need to replace the autofocus sensor?
The autofocus sensor is a device that is used to measure the distance between the laser head and the material being engraved. It is a critical component in ensuring that the laser beam is focused properly on the material, which is necessary for achieving accurate and consistent engraving results.
Over time, the autofocus sensor may become damaged or worn out due to normal wear and tear or exposure to dust, debris, or other contaminants. When this happens, the sensor may start to malfunction or provide inaccurate readings, which can result in a variety of issues such as:
Uneven or inconsistent engraving depth: If the autofocus sensor is not functioning properly, the laser may not be focused at the correct distance from the material, which can lead to uneven or inconsistent engraving depth across the surface.
Poor engraving quality: A damaged or malfunctioning autofocus sensor may cause the laser beam to be improperly focused, resulting in poor engraving quality with blurry or fuzzy edges.
Inability to maintain consistent focal length: If the autofocus sensor is unable to maintain a consistent focal length, the laser beam may drift out of focus during the engraving process, resulting in poor quality or incomplete engraving.
How to replace the autofocus sensor?
Tools you need:
- 2.5 millimeter Allen wrench
- Wire cutters
- Wire strippers
- Electrical tape
- Butt connector

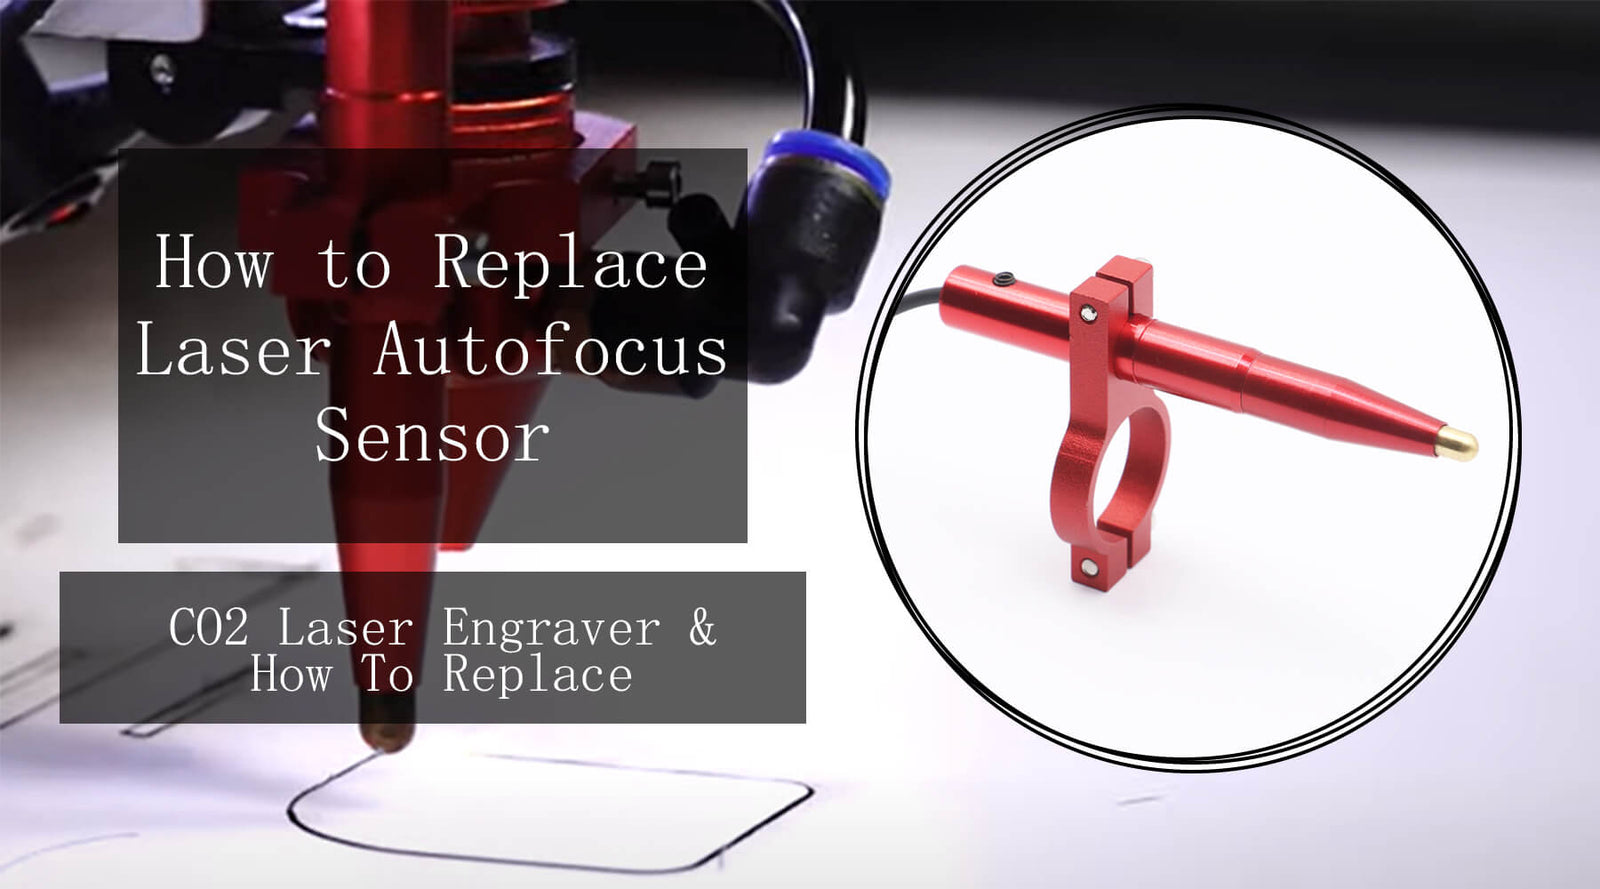
Step 1: Open the work bed cover and locate the red autofocus pen attached to the laser head.
Step 2: Remove the single hex screw that holds the autofocus plunger in place.
Step 3: Use wire cutters to cut the autofocus cord, leaving around 4 inches of cord. Take caution not to cut any other cords.
Step 4: Cut the sensor cable about 4 inches from the sensor. Use a knife or razor blade to open the insulation or rubber housing around the wire. Pull apart the insulation to remove about 1.5 inches of the wire, revealing three internal wires.
Step 5: Cut away the extra insulation using wire cutters. Then, use wire strippers to remove the inner layer of insulation from each internal cable.
Step 6: Repeat the above step for the old autofocus wire. Once both cables' ends are ready, connect them.
Step 7: Insert the wires from the new autofocus sensor into each end of their butt connectors.
Step 8: Use crimpers to crimp both sides of the butt connector. Ensure that the metal tube is crimped on both sides. You can use heat shrink tubing or electrical tape to protect the new wiring.
Step 9: Test the new autofocus sensor. When the plunger rises, a red light on the top of the plunger should turn on, indicating that the autofocus is working.
Conclusion
If you have no experience in repairing or maintaining laser engravers, it's best to seek the help of a qualified technician or our technical team to ensure that the replacement is done correctly.
That being said, if you have some experience with repairing or maintaining electronic equipment and you feel comfortable working with the laser engraver, it is possible to replace the autofocus sensor on your own. However, you should take caution and follow the instructions carefully to avoid damaging other components or causing injury.