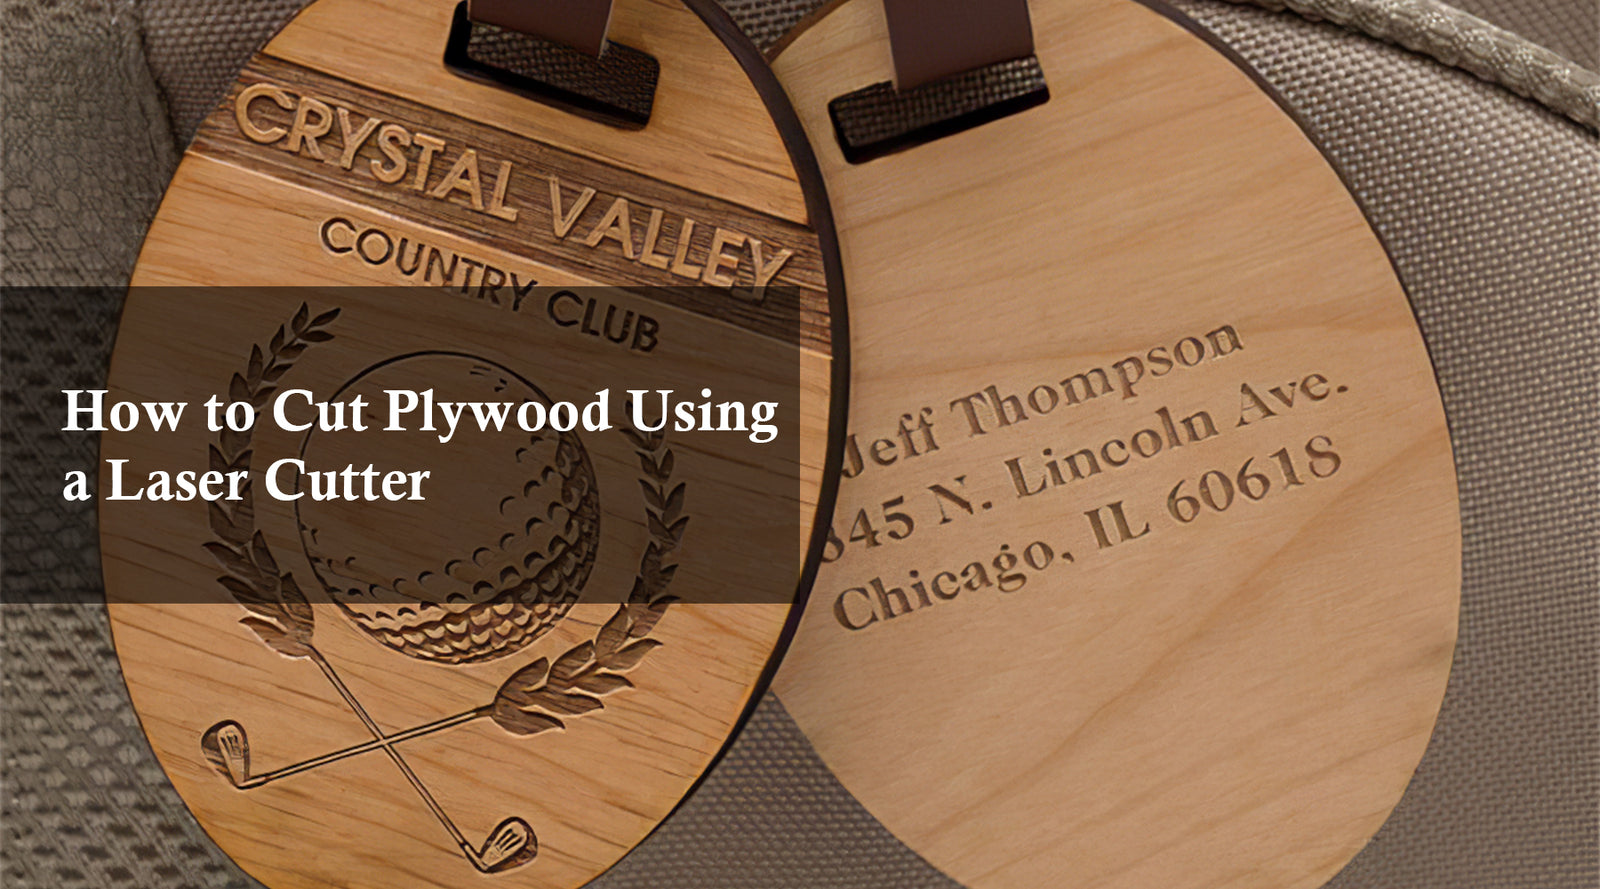
When it comes to working with plywood, precision is key. Whether you're creating intricate designs, custom furniture, or unique crafts, laser plywood cutting is one of the most efficient and precise methods available. In this guide, we'll walk you through how to cut plywood using a laser cutter, specifically focusing on the Monport 60W CO2 Laser Engraver & Cutter (24" x 16") with Autofocus.
Why Choose Laser Cutting for Plywood?
Laser cutting is becoming the go-to method for cutting plywood due to its precision and efficiency. With a laser cutter, you can achieve clean, smooth edges without the fraying or splintering that often occurs with traditional cutting methods.
- Precision: The laser beam is incredibly precise, allowing for intricate designs and detailed cuts.
- Speed: Laser cutting is faster than manual cutting methods.
- Versatility: Suitable for various thicknesses of plywood.
- Automation: With the right settings, the process is largely automated, requiring minimal manual intervention.

Step-by-Step Guide on How to Cut Plywood
-
Prepare Your Workspace
Ensure your workspace is clean and free of debris. Position the Monport 60W CO2 Laser Engraver & Cutter on a stable surface and connect it to the power source. -
Set Up the Laser Cutter
Power on the machine and select the appropriate settings for laser plywood. The Monport 60W CO2 Laser Cutter comes with autofocus, which adjusts the laser height automatically, ensuring precise cuts. -
Adjust the Speed and Power Settings
The right speed and power settings are crucial for a clean cut. For plywood, a power setting of 60% and a speed of 20mm/s works well. However, this can vary depending on the thickness of the plywood. Always do a test cut on a small piece first. -
Position the Plywood
Place the plywood sheet onto the cutting bed. Make sure it’s flat and secured in place. If the plywood is warped, use weights or clamps to keep it stable. -
Import Your Design
Use a design software compatible with the Monport Laser Cutter to import your cutting design. Adjust the design's scale and position it on the plywood. -
Start Cutting
Once everything is set, start the laser cutting process. Keep an eye on the machine as it cuts to ensure everything goes smoothly. If the cut isn't complete, you may need to adjust the settings and re-cut. -
Clean and Finish
After cutting, remove the plywood from the machine. If there are any burn marks or residue, lightly sand the edges for a clean finish.

Choosing the Right Plywood for Laser Cutting
Not all plywood is created equal, and the type of plywood you choose can affect the cutting results.
| Type of Plywood | Suitability for Laser Cutting |
|---|---|
| Birch Plywood | Excellent for laser cutting due to its density. |
| MDF Core Plywood | Cuts cleanly but may produce more smoke. |
| Poplar Plywood | Lightweight and easy to cut, but softer. |
| Hardwood Plywood | Can be challenging to cut due to its hardness. |
When selecting plywood, choose a sheet with minimal knots and consistent grain. This will result in cleaner cuts and reduce the likelihood of errors during the cutting process.
Tips for Successful Laser Plywood Cutting
- Test Cuts: Always perform a test cut on a scrap piece before cutting your final design.
- Ventilation: Ensure your workspace is well-ventilated as laser cutting plywood produces smoke and fumes.
- Maintenance: Regularly clean the lens and mirrors of your laser cutter to maintain its efficiency.
- Avoid Thick Plywood: Plywood thicker than 1/4 inch can be difficult to cut cleanly with a 60W laser.

Common Issues and How to Solve Them
- Burn Marks: Reduce the power or increase the speed to minimize burning.
- Incomplete Cuts: Lower the speed or increase the power settings.
- Warping: Use clamps or weights to keep the plywood flat on the cutting bed.

FAQs
Q1: Can the Monport 60W CO2 Laser Engraver cut all types of plywood?
A1: The Monport 60W laser is capable of cutting most types of plywood up to 1/4 inch thick. For thicker plywood, multiple passes may be needed, or you may need to consider a more powerful laser.
Q2: How do I avoid burn marks on the plywood edges?
A2: To avoid burn marks, try lowering the power setting or increasing the cutting speed. You can also use masking tape on the surface of the plywood to protect it during the cutting process.
Q3: Is laser cutting plywood safe?
A3: Yes, as long as you follow safety precautions. Ensure proper ventilation, wear safety goggles, and never leave the laser cutter unattended during operation.
Q4: How long does it take to cut plywood with a laser cutter?
A4: The cutting time depends on the thickness of the plywood and the complexity of the design. Simple cuts can take a few minutes, while more intricate designs may take longer.

Important Details to Remember
- Always conduct a test cut before starting your final project.
- Use the proper settings to ensure clean cuts and reduce the risk of burning or incomplete cuts.
- Regular maintenance of your laser cutter is essential for consistent performance.

Takeaways
- Laser plywood cutting offers precision and efficiency, making it ideal for various projects.
- The Monport 60W CO2 Laser Engraver & Cutter is a reliable machine for cutting plywood up to 1/4 inch thick.
- Choosing the right plywood and using the correct settings will result in clean, professional cuts.

Conclusion
Laser cutting plywood with the Monport 60W CO2 Laser Engraver & Cutter (24" x 16") with Autofocus is a simple and effective process once you understand the basics. With the right preparation, settings, and techniques, you can achieve precise and clean cuts every time. Whether you're a hobbyist or a professional, laser cutting opens up a world of possibilities for working with plywood.


