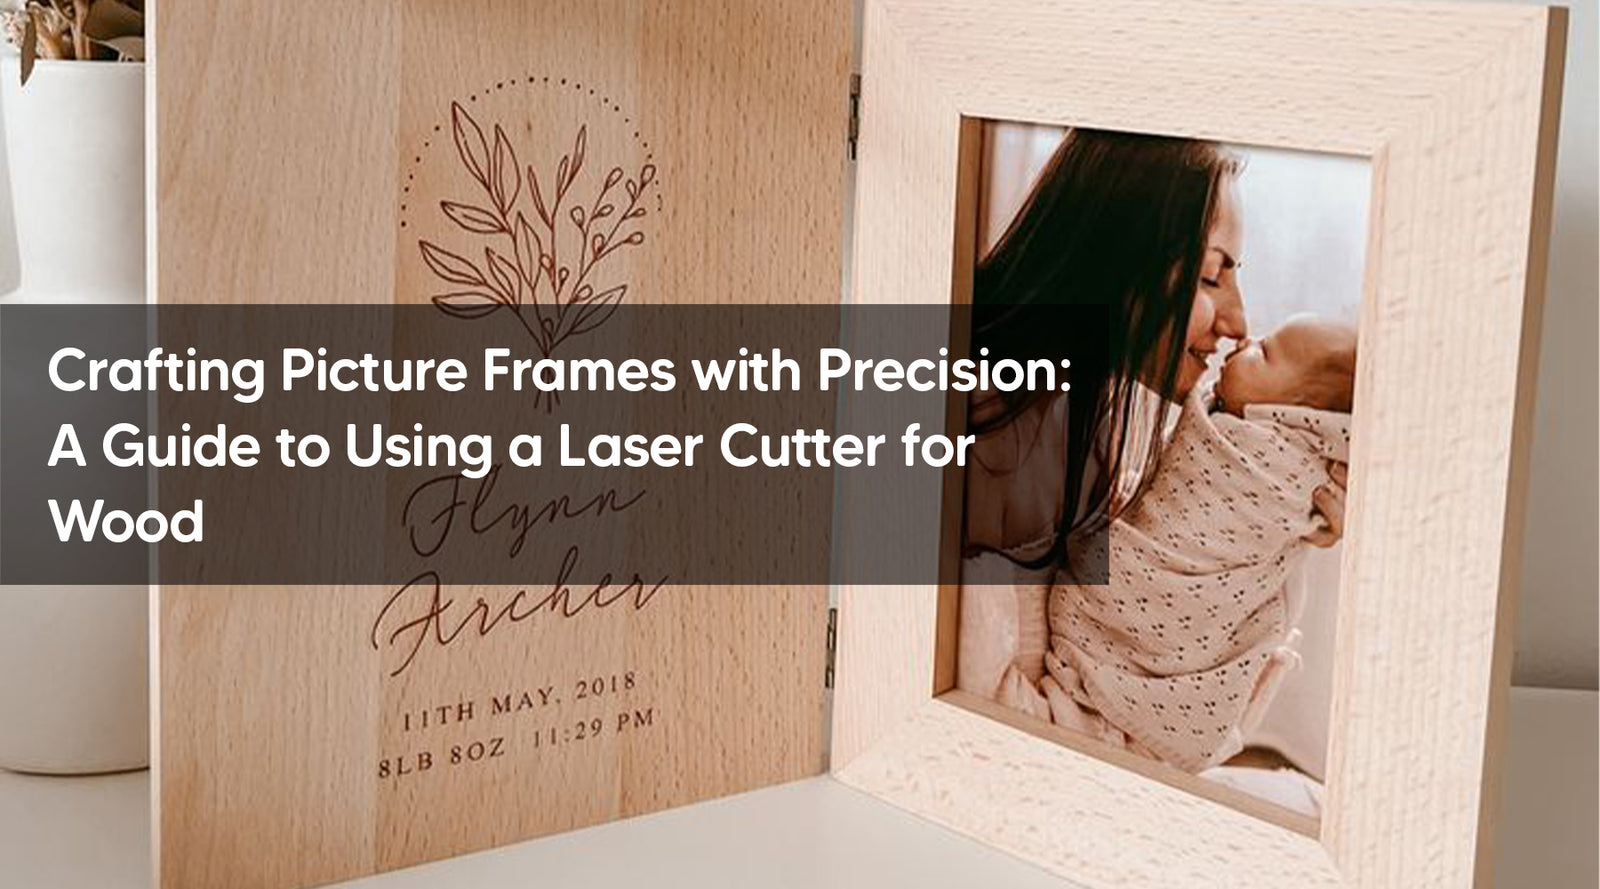
Embarking on the journey of crafting your own picture frames can be both fulfilling and daunting. The quest for precision and finesse often leads enthusiasts to seek innovative solutions, and in this digital age, the laser cutter for wood emerges as a beacon of efficiency and precision. In this comprehensive how-to guide, we'll unravel the mysteries of crafting picture frames using a laser cutter, highlighting its transformative impact on woodworking. With a focus on simplicity and precision, we'll explore the steps to mastering the art of picture frame creation, empowering you to bring your vision to life with ease. So, if you've ever wondered, how do I make a picture frame? join us on this journey as we unveil the secrets of the laser cutter for wood.
Why Choose a Laser Cutter for Wood?
Before diving into the process, let's explore why a laser cutter for wood is an excellent choice for crafting picture frames. Unlike traditional methods such as sawing or routing, laser cutters offer unparalleled precision, allowing you to create intricate designs with ease. Moreover, they provide versatility in material choice, from hardwoods to acrylics, ensuring your frames match your vision perfectly.

Getting Started: Materials and Preparation
Before firing up the laser cutter, gather your materials. You'll need wood suitable for framing, such as birch or maple, as well as protective gear like safety goggles and gloves. Additionally, ensure your design files are ready for the laser cutter's software. This could include templates for the frame's outer shape, as well as any embellishments or engraving details.
Step-by-Step Guide to Making Picture Frames
-
Designing Your Frame: Using software compatible with your laser cutter, create or upload your frame design. This may include specifying dimensions, adding decorative elements, and ensuring proper alignment for precise cuts.
-
Preparing the Laser Cutter: Power on the laser cutter and ensure it's properly calibrated. Set the focus and speed settings according to your material type and thickness. If your cutter features a rotary axis, configure it for engraving curved or cylindrical surfaces, such as rounded frame edges.
-
Loading the Material: Secure your wood sheet onto the laser cutter's bed, ensuring it's flat and level. Use clamps or magnets to prevent any movement during the cutting process.
-
Executing the Cut: Start the cutting process based on your design file. The laser cutter will follow the specified paths, precisely cutting out the frame components. Take note of any smoke or odor produced during cutting, ensuring proper ventilation in your workspace.
-
Fine-Tuning and Assembly: Once the cutting is complete, remove the frame components from the laser cutter. Sand any rough edges for a smooth finish, and test-fit the pieces together to ensure they align perfectly. Use wood glue to assemble the frame, applying pressure until fully dried.

FAQs about Using a Laser Cutter for Wood Picture Frames
-
Can I use any type of wood with a laser cutter? While most woods are suitable for laser cutting, some may produce better results than others. Hardwoods like maple and cherry are popular choices due to their durability and smooth finish.
-
Is it possible to engrave designs onto the frame with a laser cutter? Yes, laser cutters equipped with engraving capabilities can etch intricate designs onto wood surfaces, adding a personalized touch to your picture frames.
-
Are laser cutters safe to use at home? When used properly and with appropriate safety precautions, laser cutters are safe for home use. Always wear protective gear and ensure proper ventilation in your workspace to mitigate any potential risks.

Important Details: MONPORT ONYX 55W Desktop CO2 Laser Cutter
Featuring a powerful 55W CO2 laser tube, the MONPORT ONYX offers high-speed cutting and engraving capabilities, making it ideal for crafting picture frames with precision. The upgraded rotary axis allows for seamless engraving on cylindrical surfaces, expanding your design possibilities. Paired with the intuitive DSP Lightburn software, this laser cutter provides user-friendly operation and seamless integration with design files.
Key Takeaways
- Laser cutters offer unparalleled precision and versatility for crafting picture frames.
- Proper preparation and safety measures are essential when using a laser cutter at home.
- The MONPORT ONYX 55W Desktop CO2 Laser Cutter provides a powerful and user-friendly solution for woodworking projects.

Conclusion
With the rise of DIY culture, mastering the art of picture frame crafting has never been more accessible. By harnessing the precision and efficiency of a laser cutter for wood, you can elevate your creations to new heights. Whether you're a seasoned crafter or a novice enthusiast, the MONPORT ONYX 55W Desktop CO2 Laser Cutter empowers you to bring your vision to life with unparalleled accuracy and ease.


