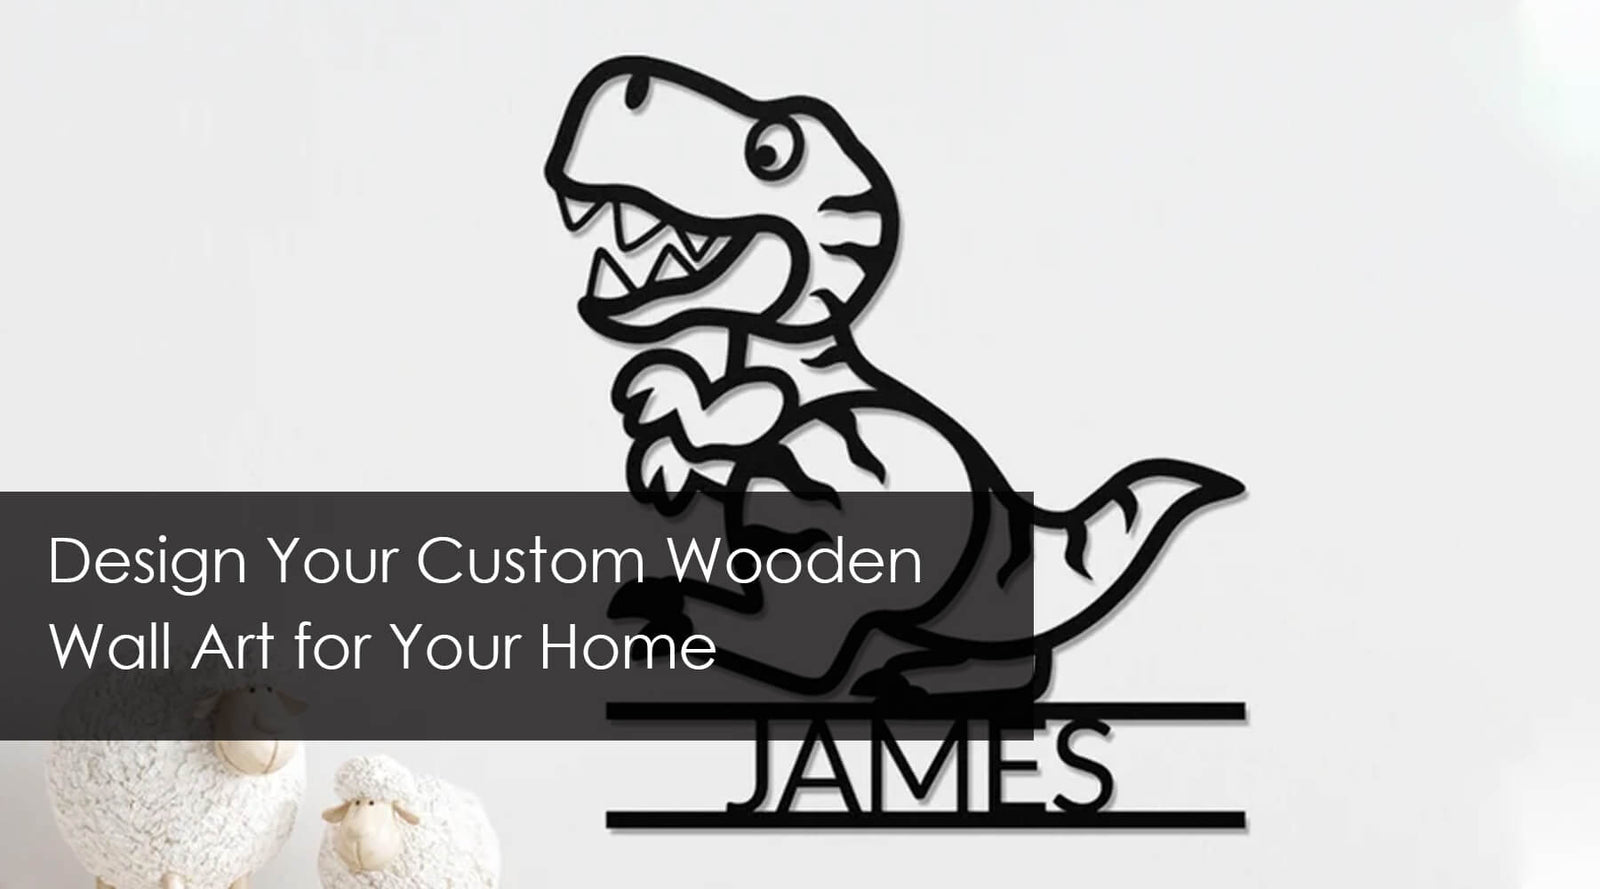
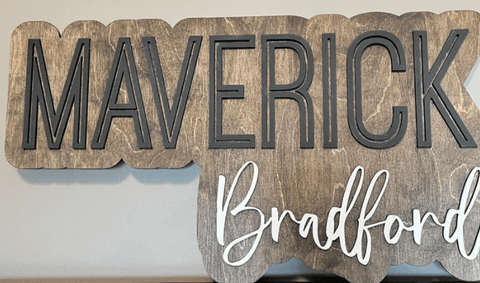
Wooden Wall Art has become increasingly popular in recent years as a way to add warmth, texture, and personality to any space. Custom wood wall art decor is a fantastic way to express your unique style while also creating a focal point in your home. In this blog post, we will discuss the process of designing your own custom wall wood art and provide tips and inspiration to help you create a stunning piece for your home.
Why Choose Wooden Wall Art?

Wooden Wall Art offers a unique and versatile option for decorating your home. The natural beauty of wood adds warmth and character to any space, while the endless possibilities for design and customization make it easy to create a piece that truly reflects your personal style. Whether you prefer rustic, modern, or something in between, wall wood art is sure to make a statement in your home.
Materials You'll Need
To create your custom Wooden Wall Art, you'll need the following materials:- Wood (such as plywood sheet, reclaimed wood, or hardwood)
- A design or pattern for your wall art
- A laser cutting tool (such as a jigsaw, CNC router, or laser cutter)
- Sandpaper and wood finishing supplies (such as stain or paint)
- Hanging hardware (such as picture hangers or brackets)
Step 1: Choose Your Wood
The first step in creating your custom wood wall art decor is selecting the type of wood you'd like to use. Consider factors such as the color, grain pattern, and texture of the wood, as well as your budget and the overall style of your home. Common choices include plywood, reclaimed wood, and hardwoods like oak, walnut, or maple.
Step 2: Design Your Wooden Wall Art
Next, you'll need to create a design for your wall wood art. This can be as simple or as intricate as you'd like, depending on your personal style and the tools you have available. You can draw your design by hand, use design software (like Adobe Illustrator or Inkscape), or find inspiration from online sources like Pinterest or Etsy.
When designing your Wooden Wall Art, consider factors such as the size and shape of your piece, the level of detail in your design, and how it will fit into your existing home decor.
Step 3: Cut Your Design
Once you have your design finalized, it's time to cut it out of your chosen wood. This can be done using a variety of tools, depending on your skill level and the intricacy of your design. Options include:- Jigsaw: A jigsaw is a versatile and affordable option for cutting out simple shapes and designs.
- CNC Router: A CNC router allows for precise and intricate cuts, making it a great option for more detailed designs.
- Laser Cutter: A laser cutter offers the highest level of precision and detail, but may be more expensive and less accessible for some DIYers.
Always follow safety guidelines when using cutting tools and wear appropriate protective gear.
Step 4: Sand and Finish Your Wooden Wall Art
After cutting out your design, you'll need to sand the edges and surfaces to ensure a smooth finish. Start with a coarse-grit sandpaper and work your way up to a finer grit until your piece is smooth and free of any rough edges.
Next, choose a finish for your wood wall art decor. This can be as simple as a clear coat of polyurethane or as elaborate as a custom paint or stain job. Be sure to follow the manufacturer's instructions for applying your chosen finish, and allow it to dry completely before moving on to the next step.
Step 5: Install Hanging Hardware
Finally, you'll need to install hanging hardware on your custom Wooden Wall Art. This can be as simple as adding picture hangers to the back of your piece or as secure as using brackets and wall anchors. Be sure to choose hardware that is appropriate for the size and weight of your wall wood art, and follow the manufacturer's instructions for installation.
Step 6: Hang Your Custom Wooden Wall Art
With your custom wood wall art decor complete, it's time to hang it in your home! Choose a location that complements your existing decor and showcases your unique piece. Be sure to use appropriate hanging hardware and secure your wall wood art safely to the wall.